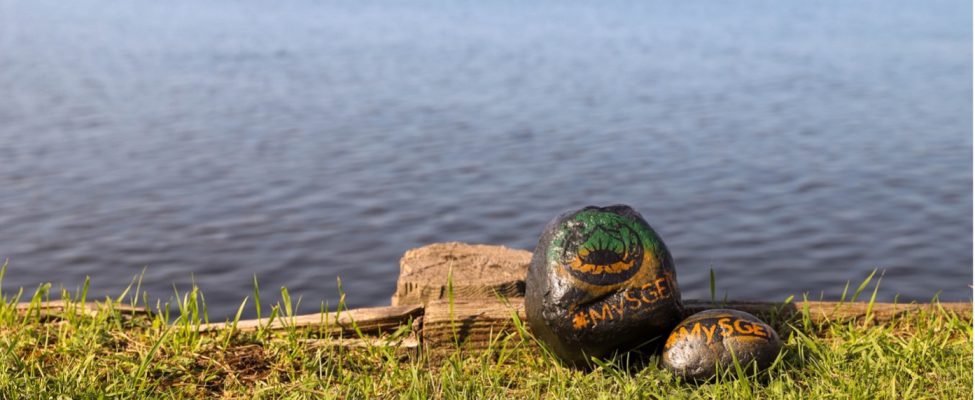
Have you ever tried rock painting? Rock painting allows individuals to express their creativity and imagination. There are no strict rules or guidelines, so you can paint whatever you like, from simple patterns and shapes to intricate designs and colorful scenes. Rock painting is a straightforward activity that doesn’t require specialized skills or expensive materials. All you need are some rocks, paint, and brushes (or even just markers), making it accessible to almost anyone. Plus, you can find rocks almost anywhere! It can be a fun group activity, bringing friends, family, or even communities together. It can also be an individual hobby, as simple as painting a single rock or creating an entire collection or art installation.
Are you interested in trying your hand at rock painting? Follow along below and learn some tips and tricks to paint and weather-proof your own rocks. And when you’re ready, join us in our Fort Frances and Kenora Makerspaces!
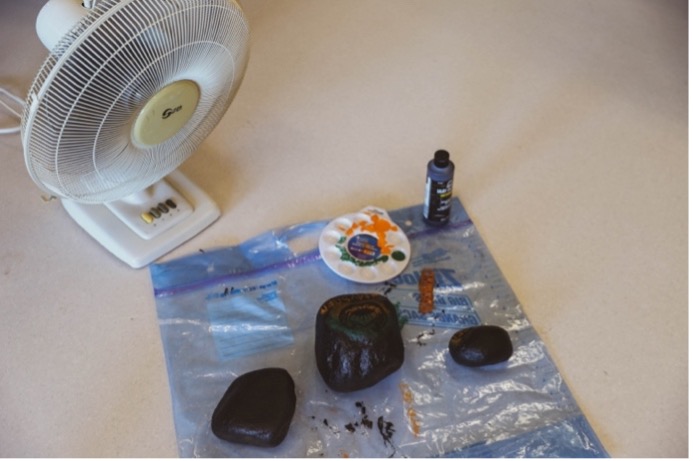
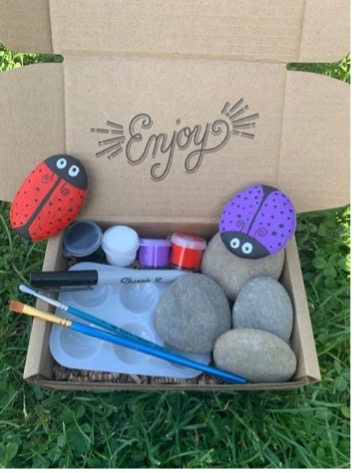
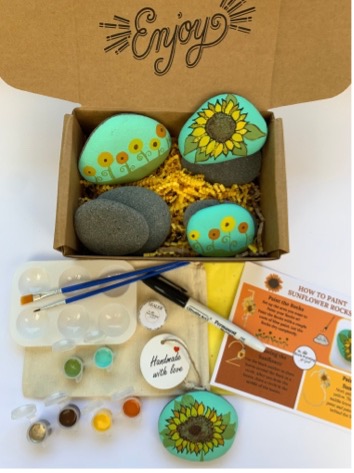
We have all the supplies needed to begin rock painting.
How to paint and weather-proof your own rocks
Materials Needed
1. Rocks (smooth, clean, dry)
2. Acrylic paint (outdoor or all-weather paint recommended)
3. Paintbrushes (assorted sizes)
4. Clear acrylic sealer (spray or brush-on)
5. Sandpaper (optional, for smoothing rough surfaces)
6. Water and a clean cloth
7. Drop cloth, newspaper, plastic, etc. to protect your work area
Process
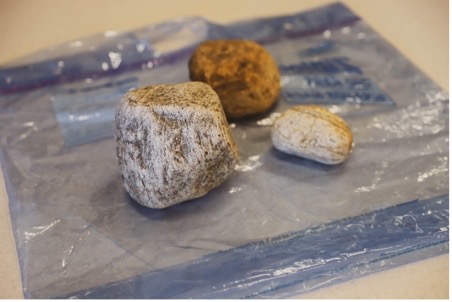
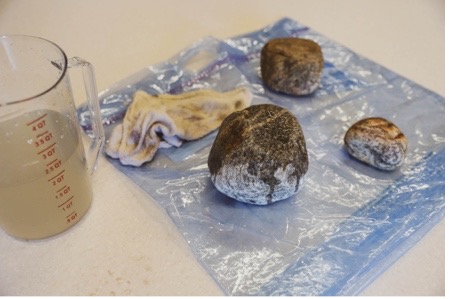
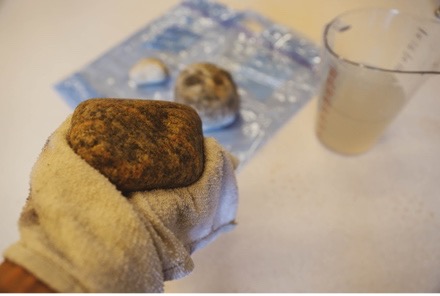
1. Preparation:
Choose rocks that are clean, dry, and free from dust, dirt, or any debris. If needed, wash the rocks with water and a cloth, and allow them to dry completely.
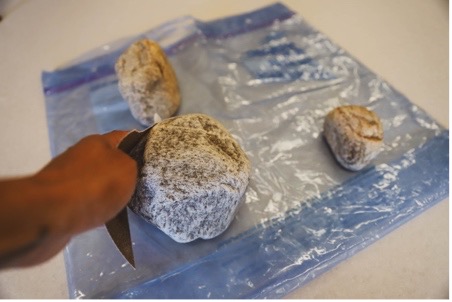
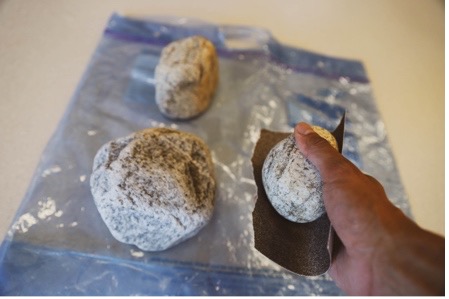
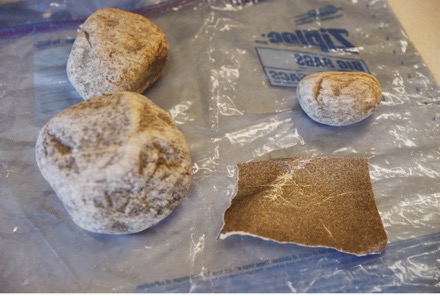
2. Smoothing rock surfaces (optional):
If your rocks have rough surfaces, you can use sandpaper to smooth them out. This step is not necessary, but it can make painting easier and improve the final appearance.
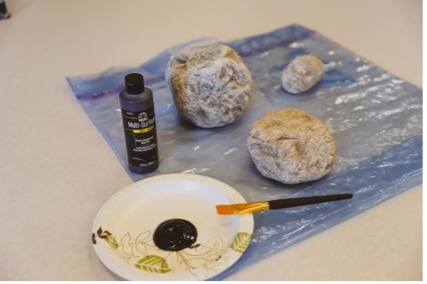
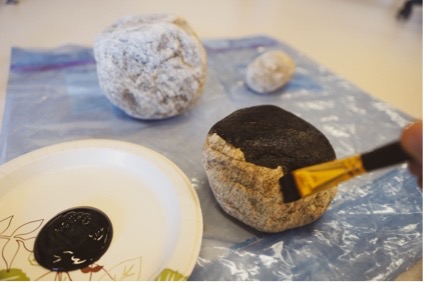
3. Applying the base coat:
Start by applying a layer of outdoor or all-weather acrylic paint as a base coat. This base coat will act as a primer and provide a good surface for the subsequent layers of paint. Choose a colour that complements your design or the natural colour of the rock.
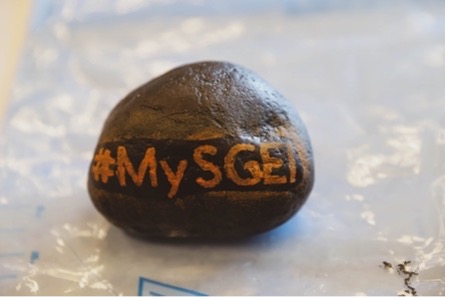
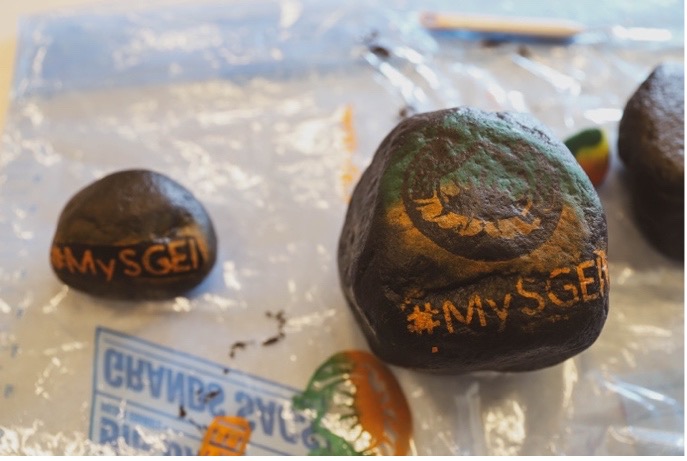
4. Adding your design:
Once the base coat is dry, you can start adding your design using acrylic paints. Use various brushes to create the desired patterns, images, or designs. Acrylic paints are great for rock painting because they adhere well and are durable.

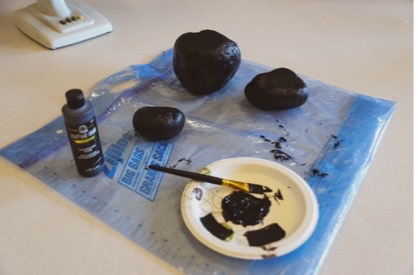
5. Letting the paint dry:
Allow the paint to dry completely before moving on to the next step. Follow the manufacturer’s instructions for the specific drying time of the paint you are using.
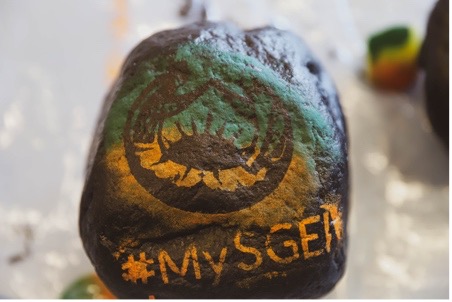
6. Adding details and layers:
If you want to add more details or depth to your design, you can apply additional layers of paint once the previous ones are dry. This step is optional but can enhance the visual appeal of your painted rocks.
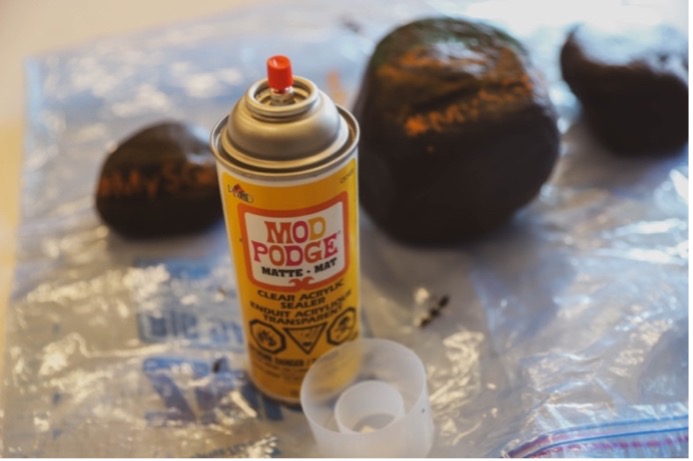
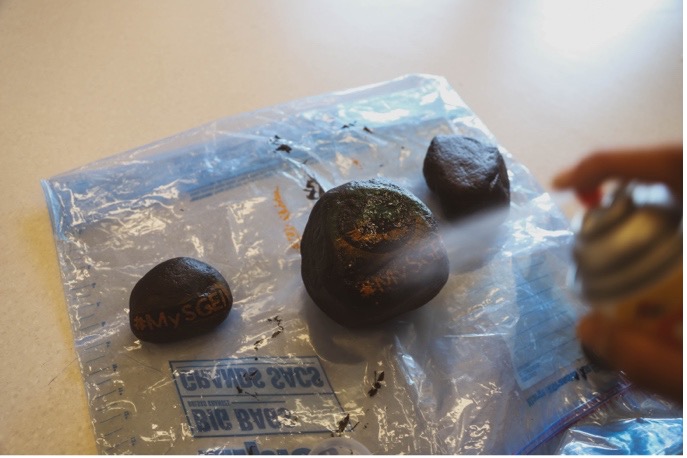
7. Applying the clear acrylic sealer:
To make the rocks weather-resistant and protect the paint from the elements, apply a clear acrylic sealer. You can choose between a spray-on sealer or a brush-on sealer. Make sure to apply an even and thorough coat, covering the entire painted surface of the rock.
8. Letting the sealer dry:
Allow the sealer to dry completely as per the manufacturer’s instructions. This step usually takes a few hours, but it’s essential to ensure the sealer is fully cured and effective.
9. Repeat the sealer application (optional):
For added protection, you can apply a second coat of clear acrylic sealer after the first coat is dry. This step is optional but can increase the longevity of the paint and protect it from harsh weather conditions.
Once your painted rocks are completely dry and sealed, they should be weather-resistant and long-lasting. However, keep in mind that even with proper sealing, exposure to extreme weather conditions might eventually wear down the paint over time. Regularly inspect your painted rocks and reapply the sealer as needed to maintain their durability and appearance.
Why should you make your painted rocks weather resistant?
Weather-resistant coatings protect the paint from the elements, such as rain, sun, and wind, helping to extend the life of your painted rock. The coating acts as a barrier, shielding the paint from moisture, UV rays, and other environmental factors that could damage the artwork. The coating also adds a glossy or satin finish to the rock, enhancing its appearance while being able to be stored both indoor and outdoor withstanding elements. Without weather-resistance, the paint can fade, chip, or peel quickly, reducing the lifespan of the artwork. Remember to use non-toxic paints and sealers to ensure the safety of the environment and wildlife. Additionally, you can involve friends and family in painting rocks and coming up with even more creative ideas!
Rock art ideas!
Weather-resistant painted rocks can be used in various creative and practical ways both indoors and outdoors. Here are some ideas to inspire you:
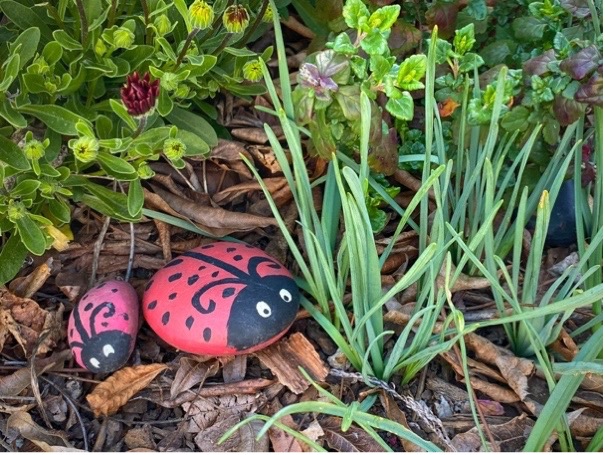
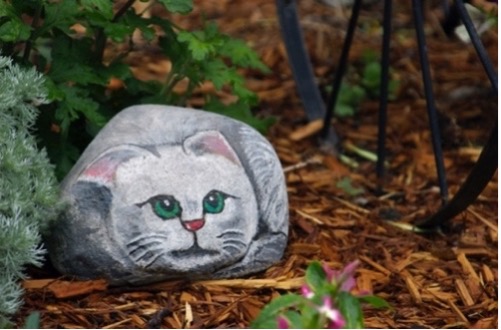
1. Garden decorations:
Place your painted rocks in your garden to add a splash of color and personality.

2. Patio/Deck art:
Arrange the rocks on your patio or deck for some outdoor decor.

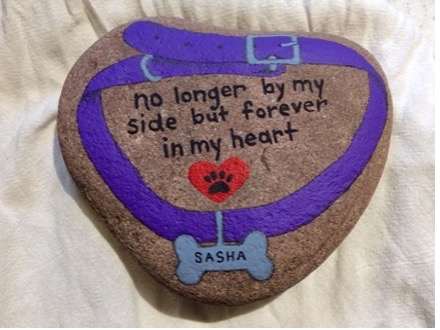
3. Pet rock markers:
Painted rocks can be used as markers for pet memorial gardens/areas.

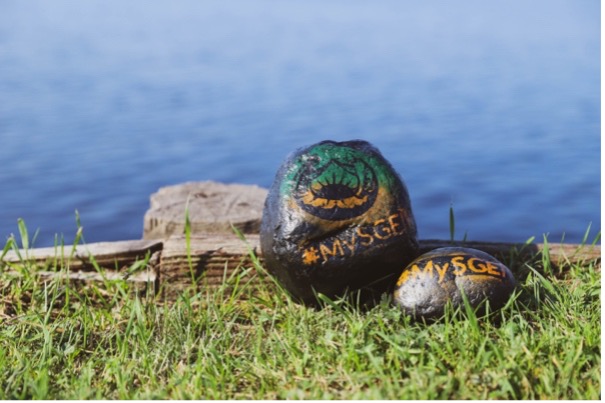
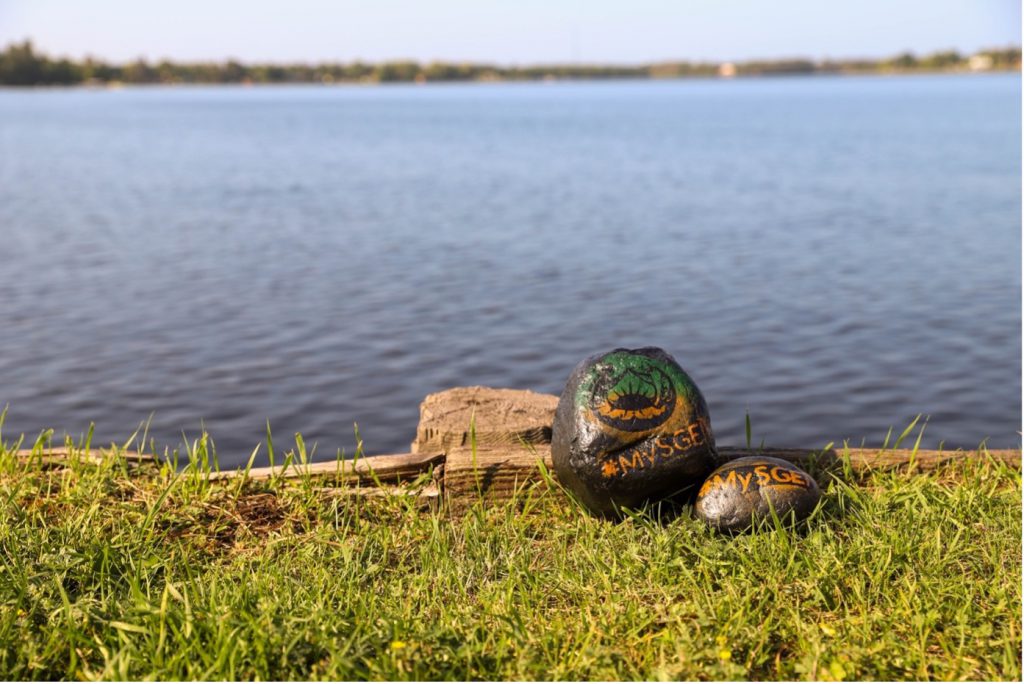
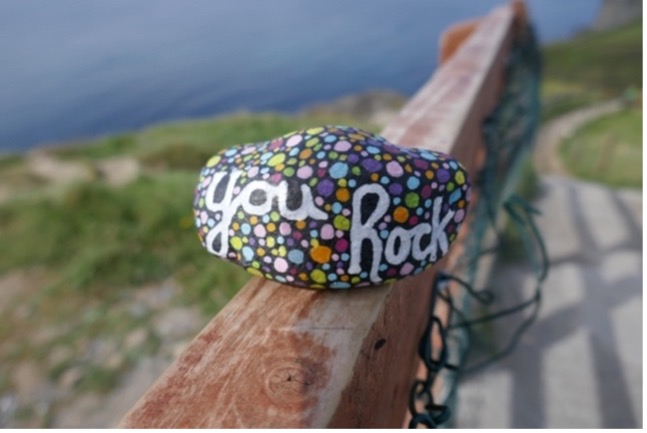
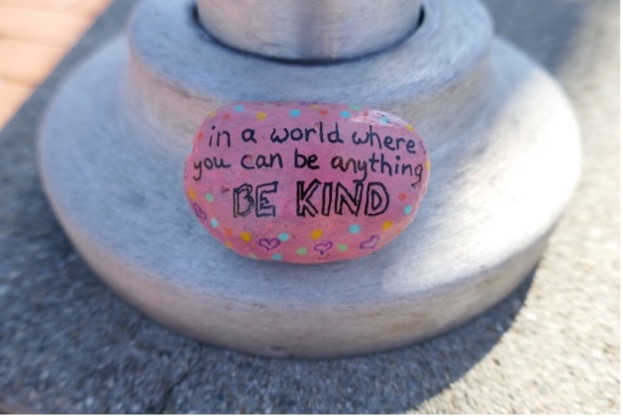
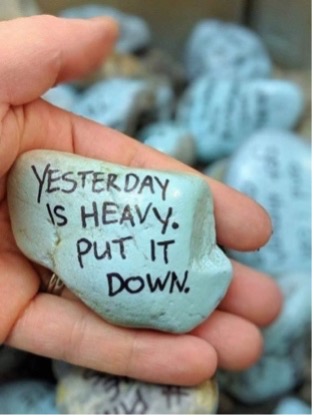
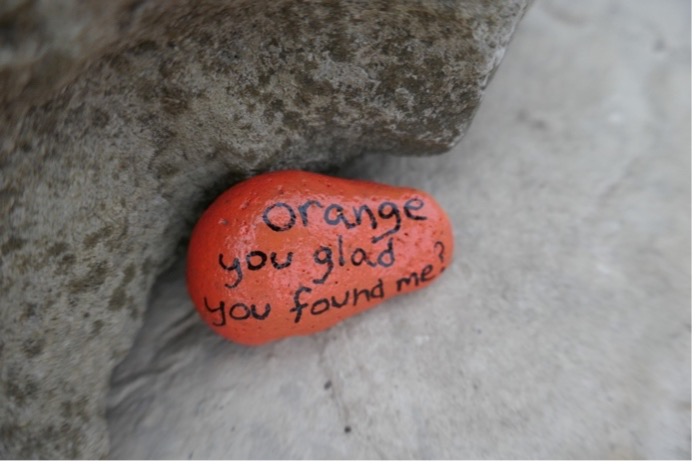
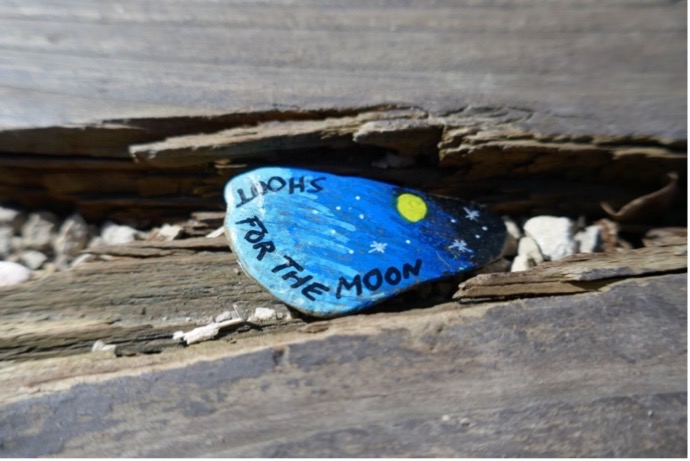
4. Inspirational messages:
Write uplifting messages on your rocks and leave them in places for other people to find, like parks or walkways.

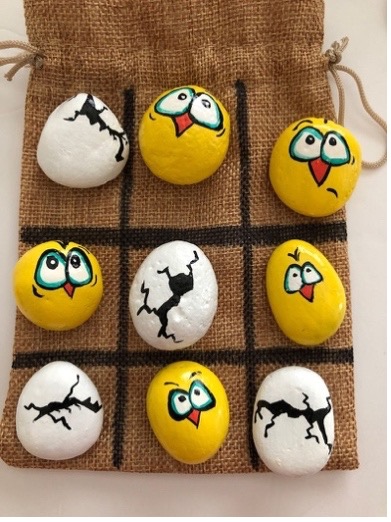
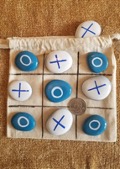
5. Rock Tic-Tac-Toe:
Paint rocks with Xs and Os to create a reusable Tic-Tac-Toe board.

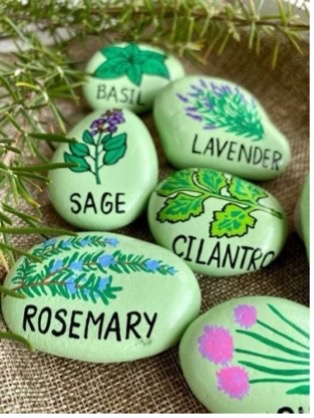
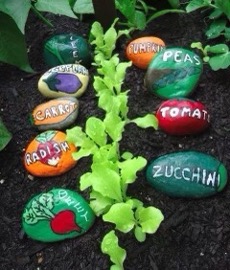
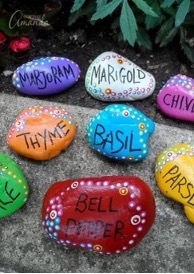
6. Garden markers:
Paint the names of different herbs, vegetables, or flowers on rocks to use as markers in your garden. You could even try to find some rocks that are in the shape of the plant you are marking to get even more creative!
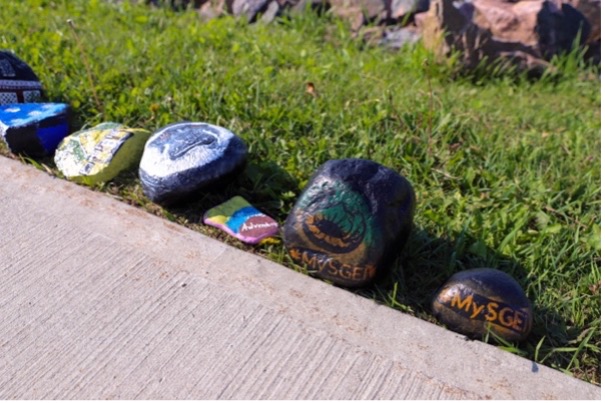
7. Hide and seek rocks:
Paint rocks and then hide them around your neighborhood or local park for others to find. You can even participate in community-organized rock hunts.
8. Rock painting kits:
Create rock painting kits with weather resistant paints, brushes, and a few rocks. These make great gifts for kids and adults alike.
Join us in the Makerspace!
Our Makerspaces at our Fort Frances and Kenora campuses provide students, staff and the public with the space and tools to unleash their creativity. Filled with tech, gaming consoles, craft materials, and more, the Makerspace is a creative haven for those looking to work with their hands. We have all the supplies needed to begin painting, just bring your rocks!
Want to paint rocks or work on other art projects? Check out the Makerspace page on our website so you can stay up to date on all our upcoming events, register for future trainings, or even book the space for yourself, a group, or programming.