Birch bark baskets can be used for many things. Traditionally they are used for cooking, gathering berries, hauling water, and storing food. Birch bark can also be used to make canoes and spirit dishes. We have put together a tutorial on how to make simple birch bark baskets. Follow the steps below to see how you can make your own.
Step 1:
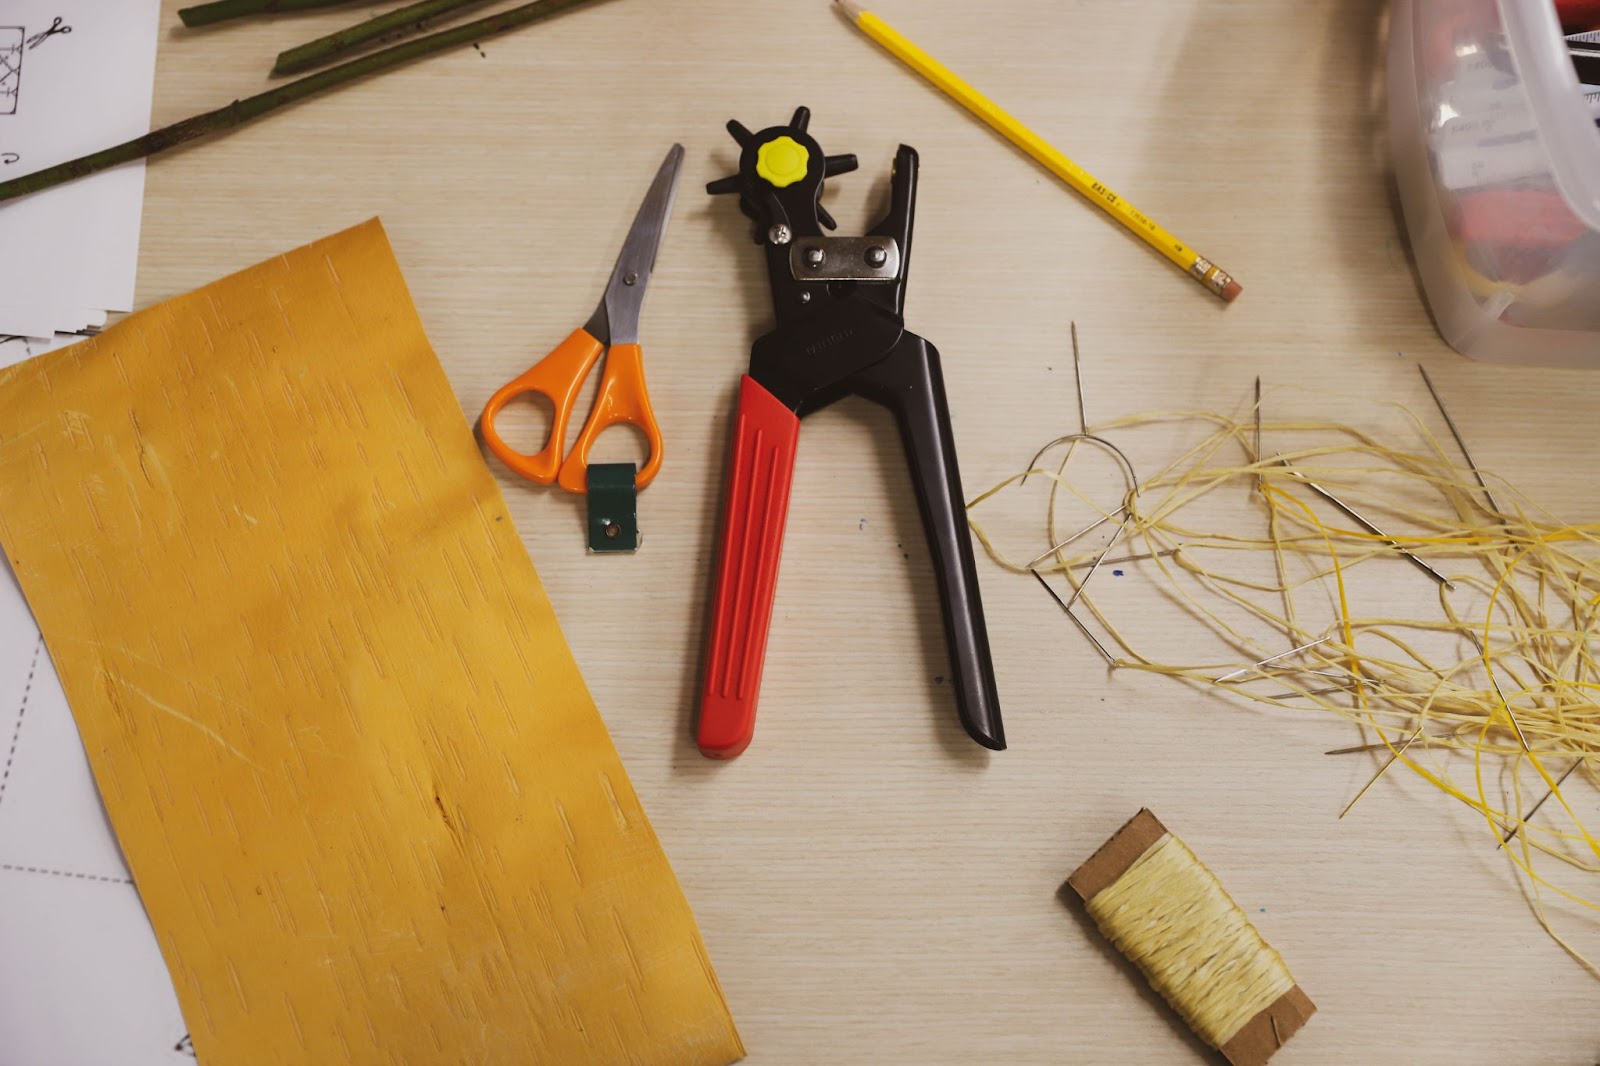
Gather all of the materials that you will need:
- Birch
- Template
- Pencil or marker
- Scissors
- Large sewing needle
- Clothes pins
- Willow (we recommend you gather during early summer- later in the summer, it becomes less playable and green/dry) or use Sinew
Step 2:
Find a template. Many templates can be found just by Googling, but we have attached our own printout for you to use!
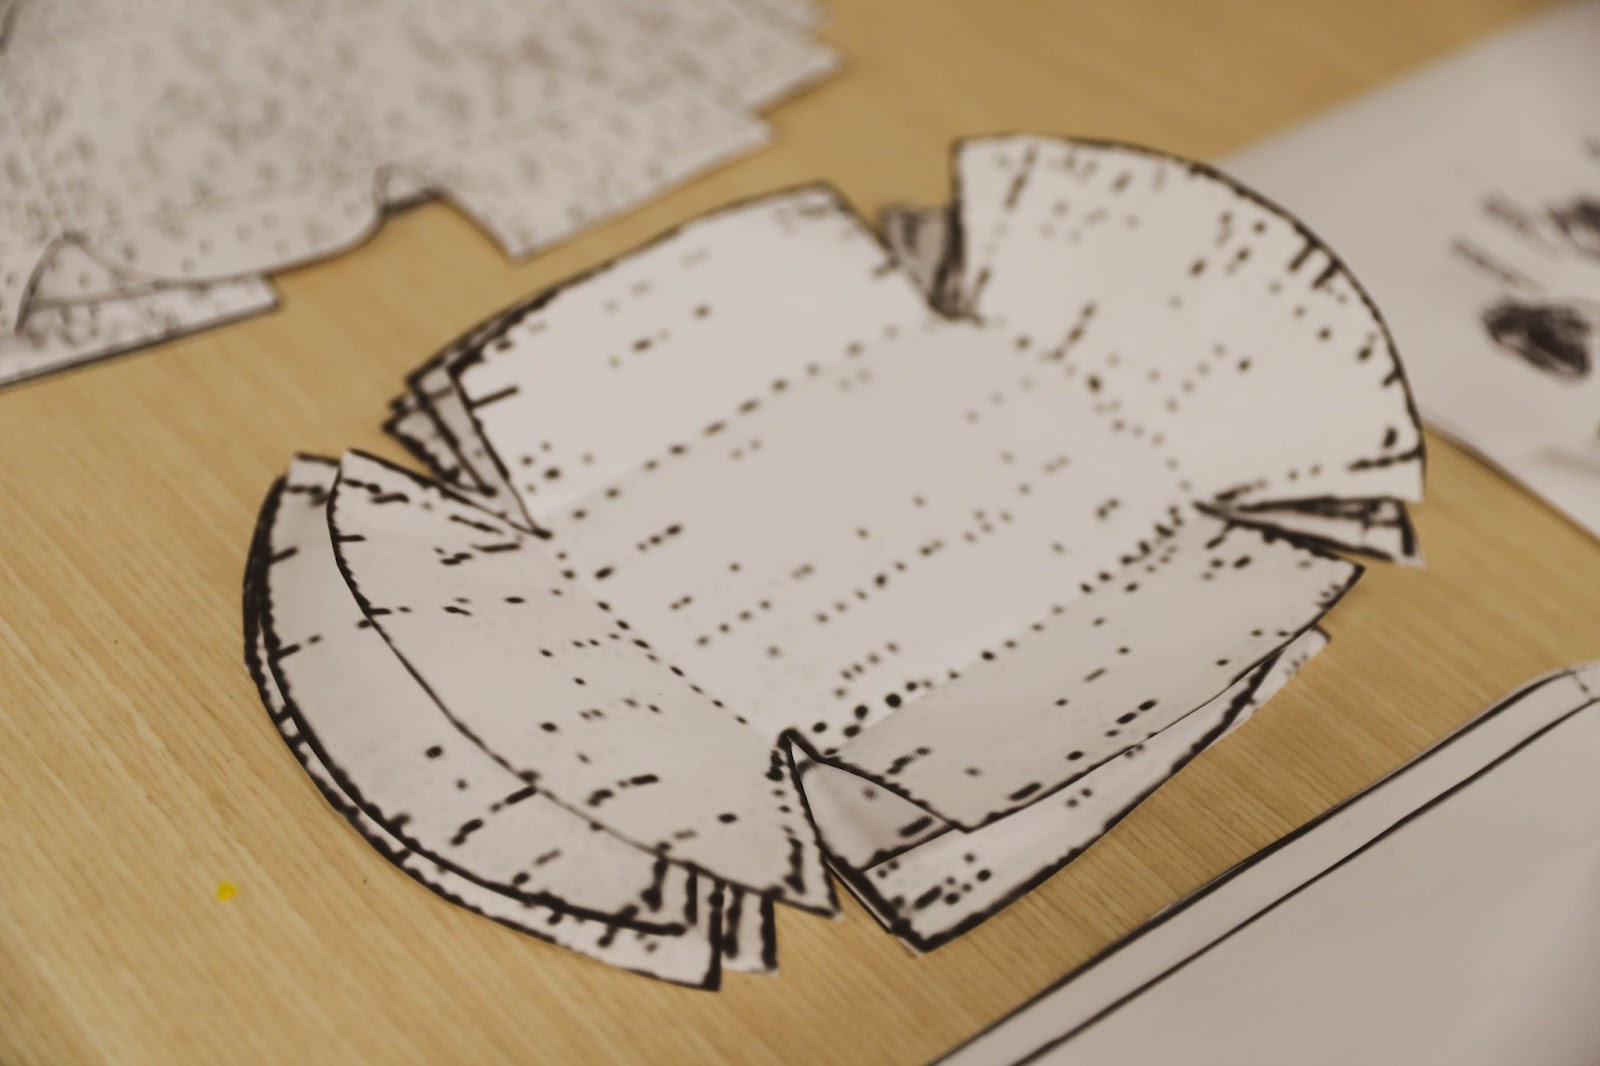
Step 3:
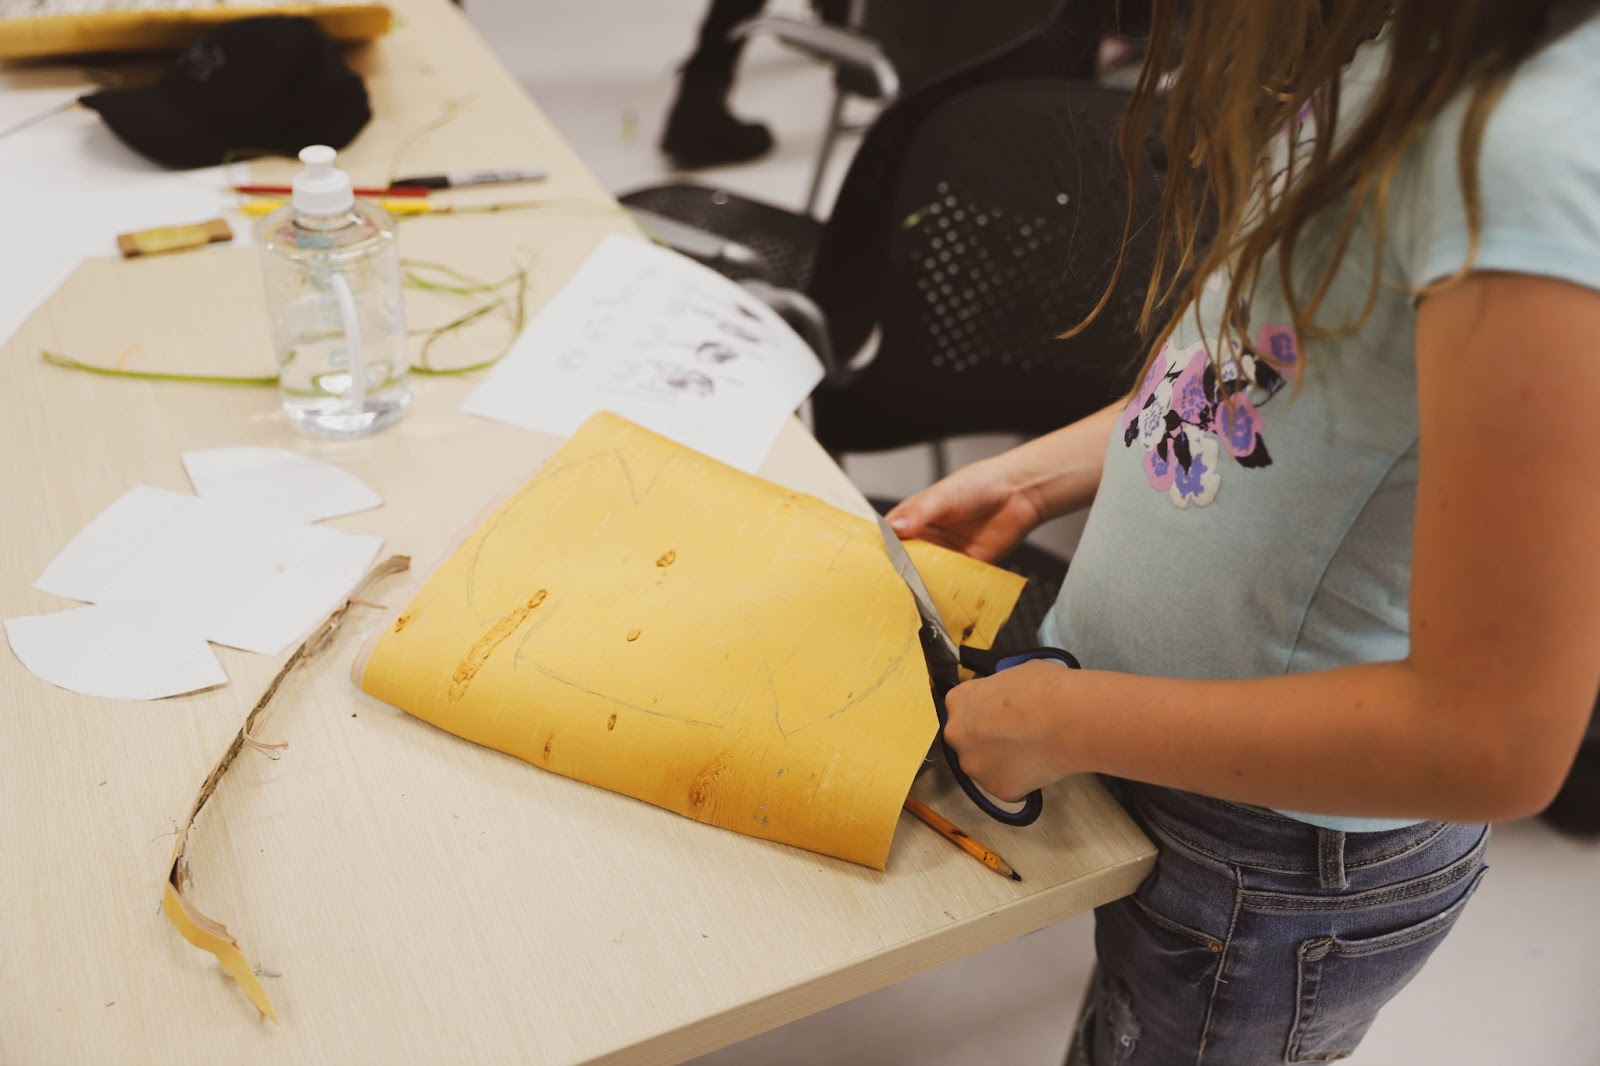
Once you have found your template take your piece of birch and trace the template onto it.
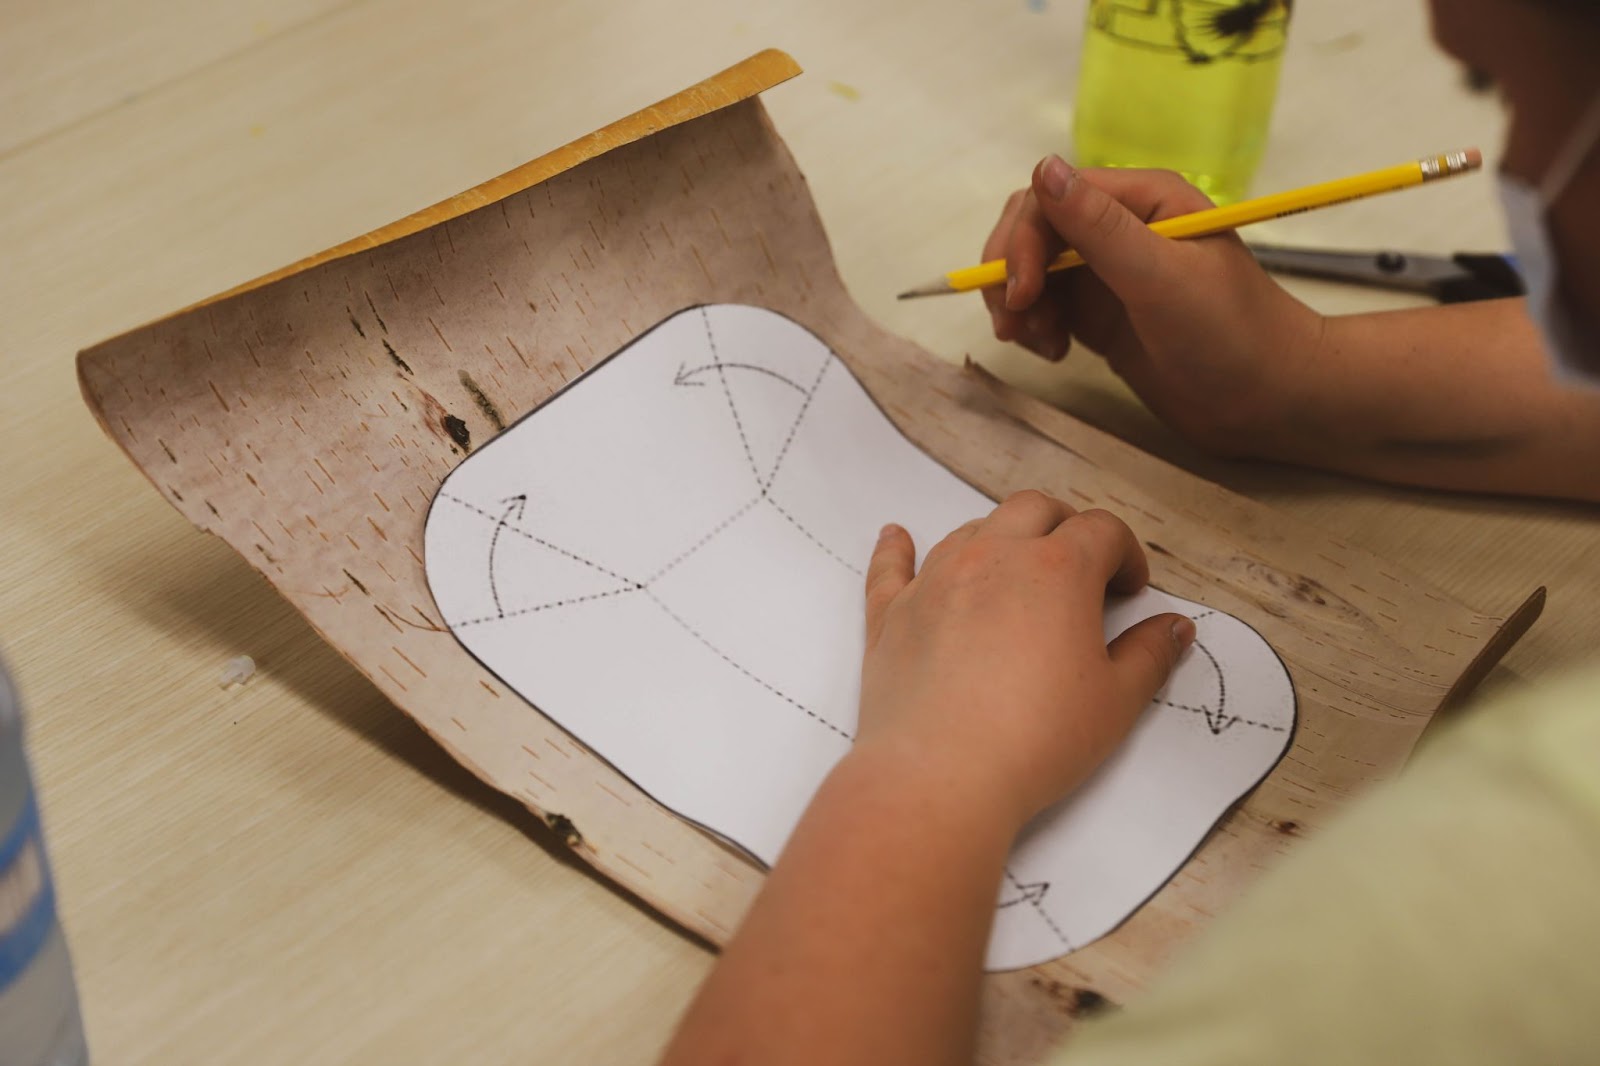
Step 4:
After you have traced out your template cut out your birch.
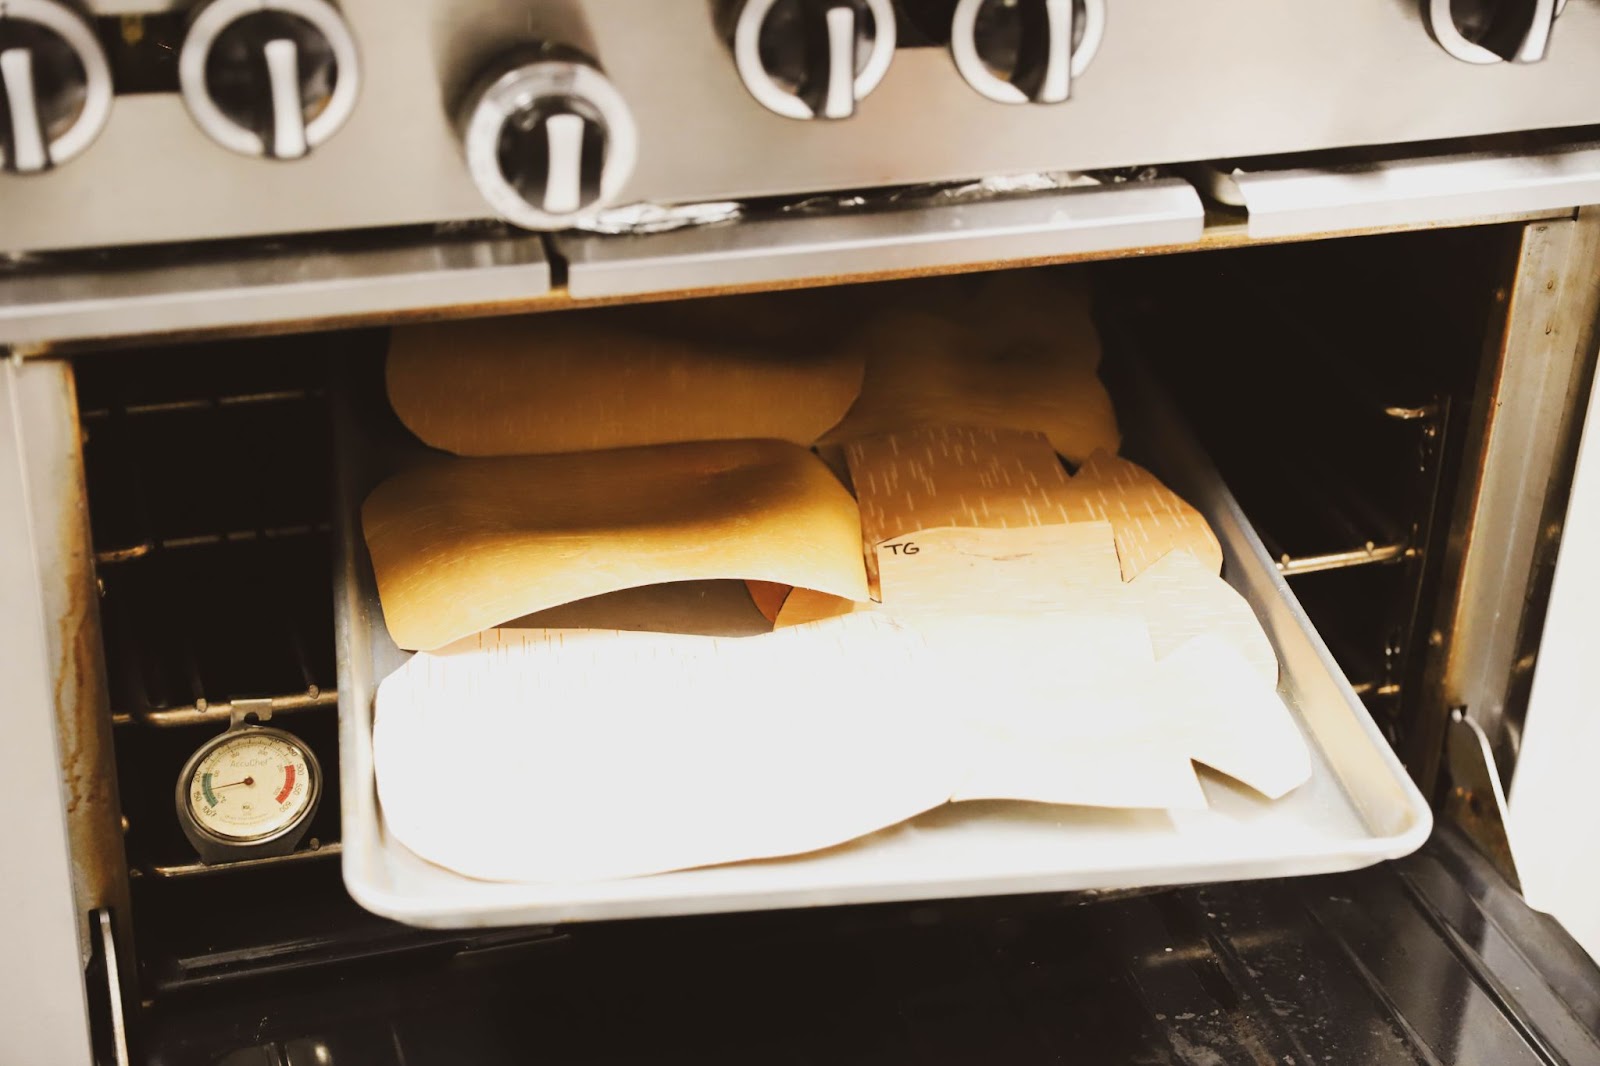
Step 5:
If your birch is not freshly harvested, bake it at 225° for three to five minutes.
Step 6:
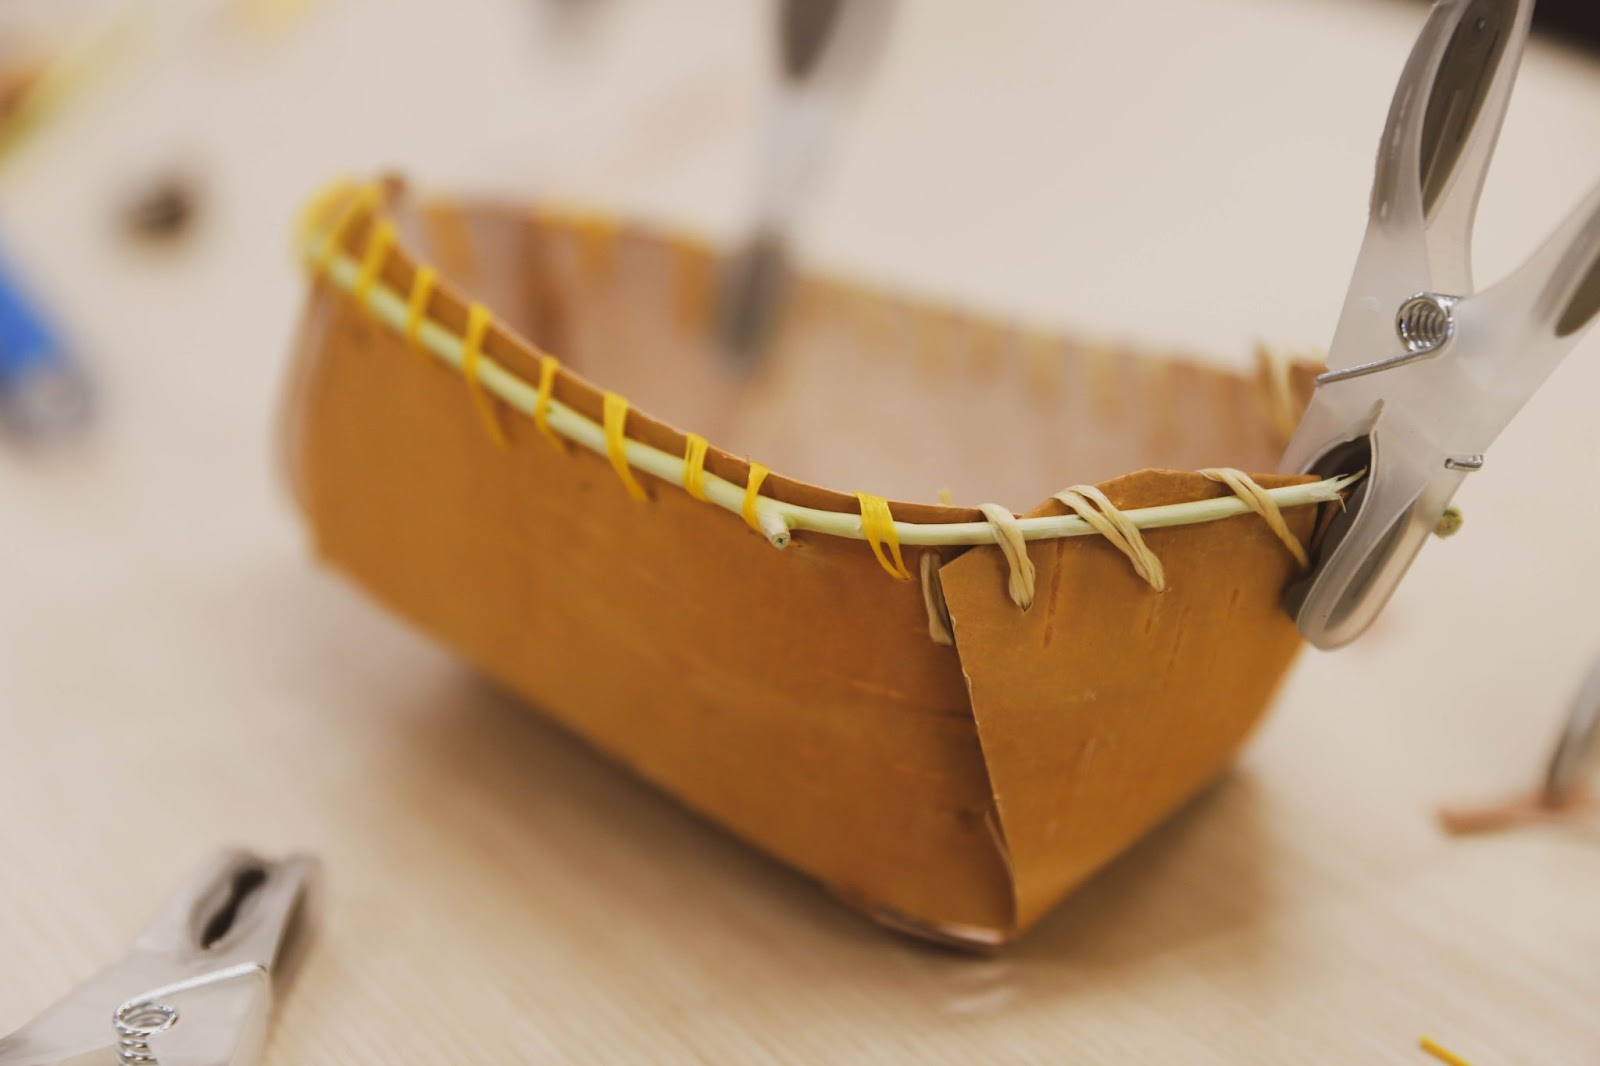
Now you will be able to follow to fold lines on your template. Once you have folded your birch into a basket-like shape, take your clothes pins and clip them into place.
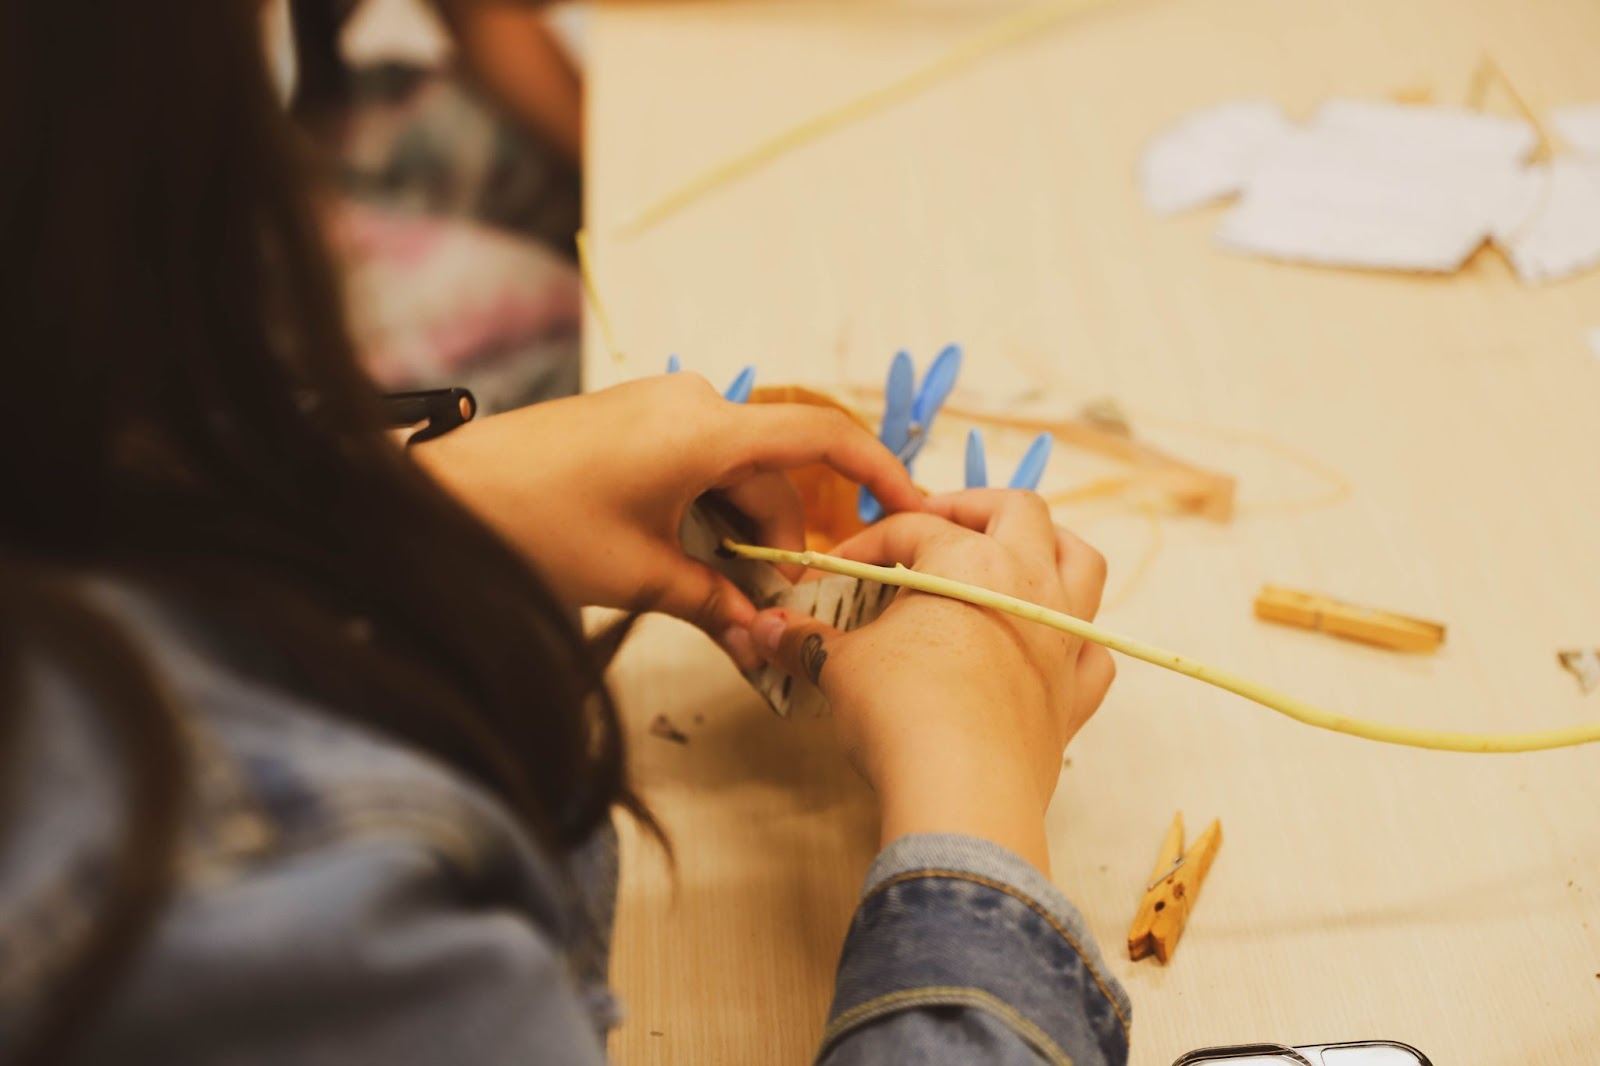
Step 7:
Take your willow and wrap it around your birch, adding it to your clothes pins.
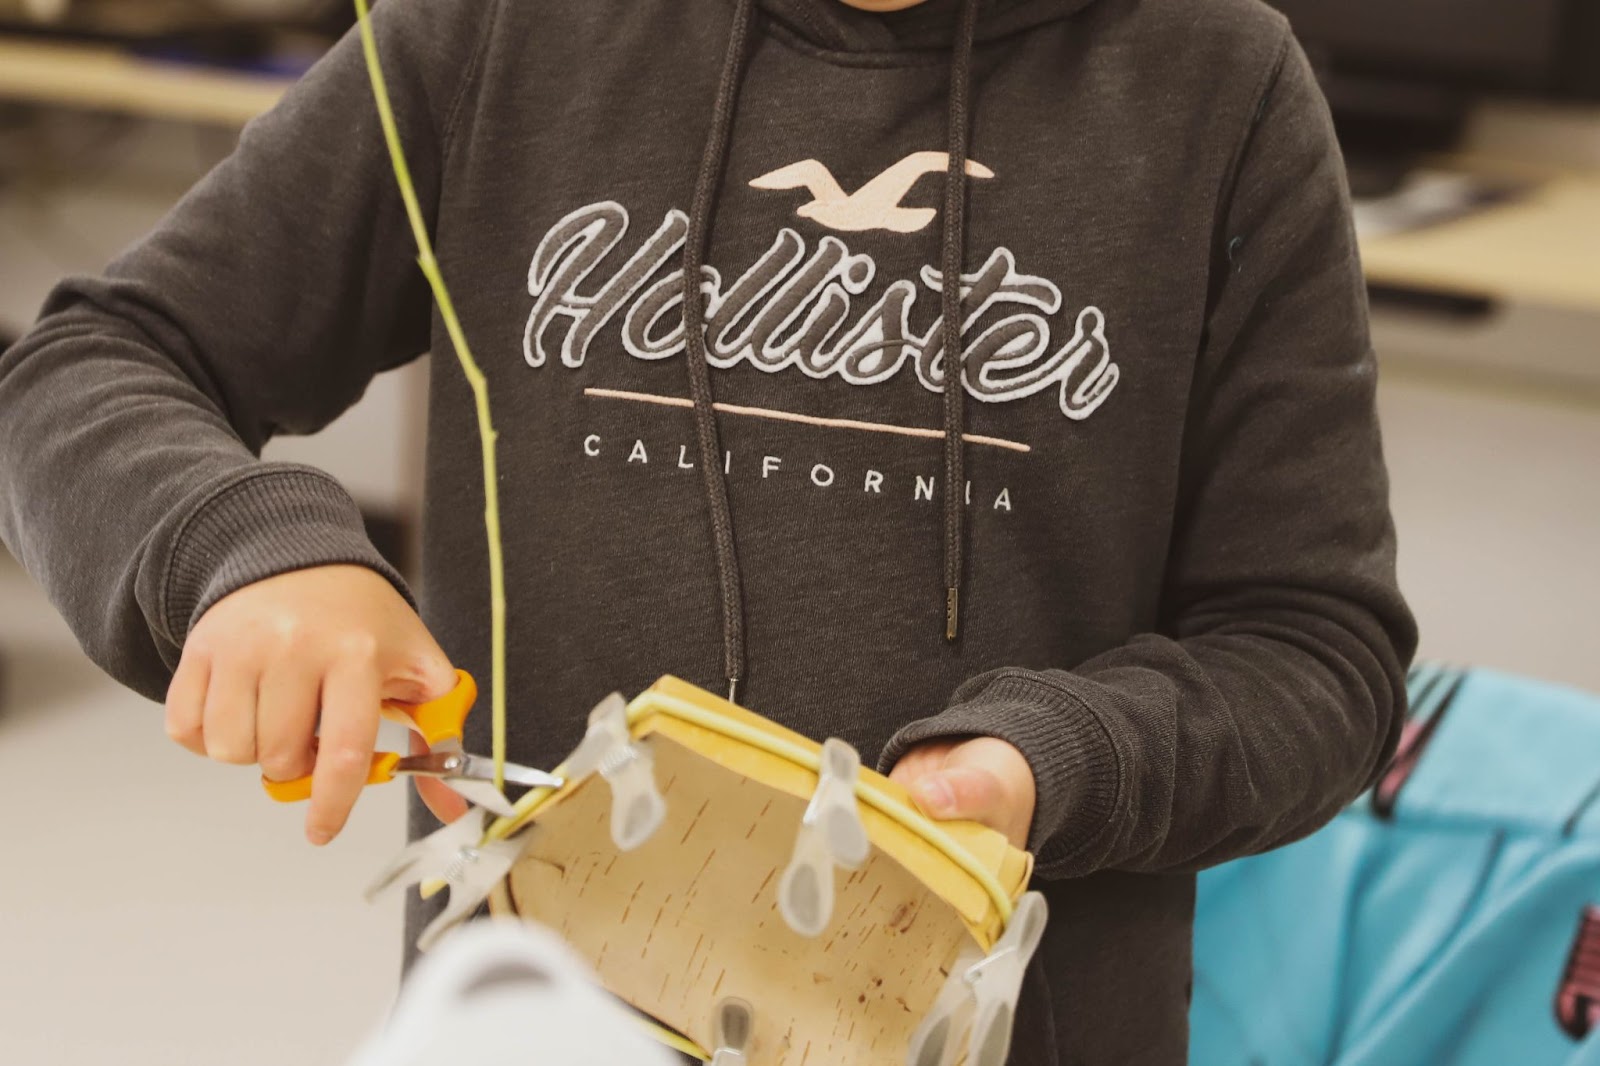
Step 8:
Trim any excess willow after you have wrapped it around your basket.
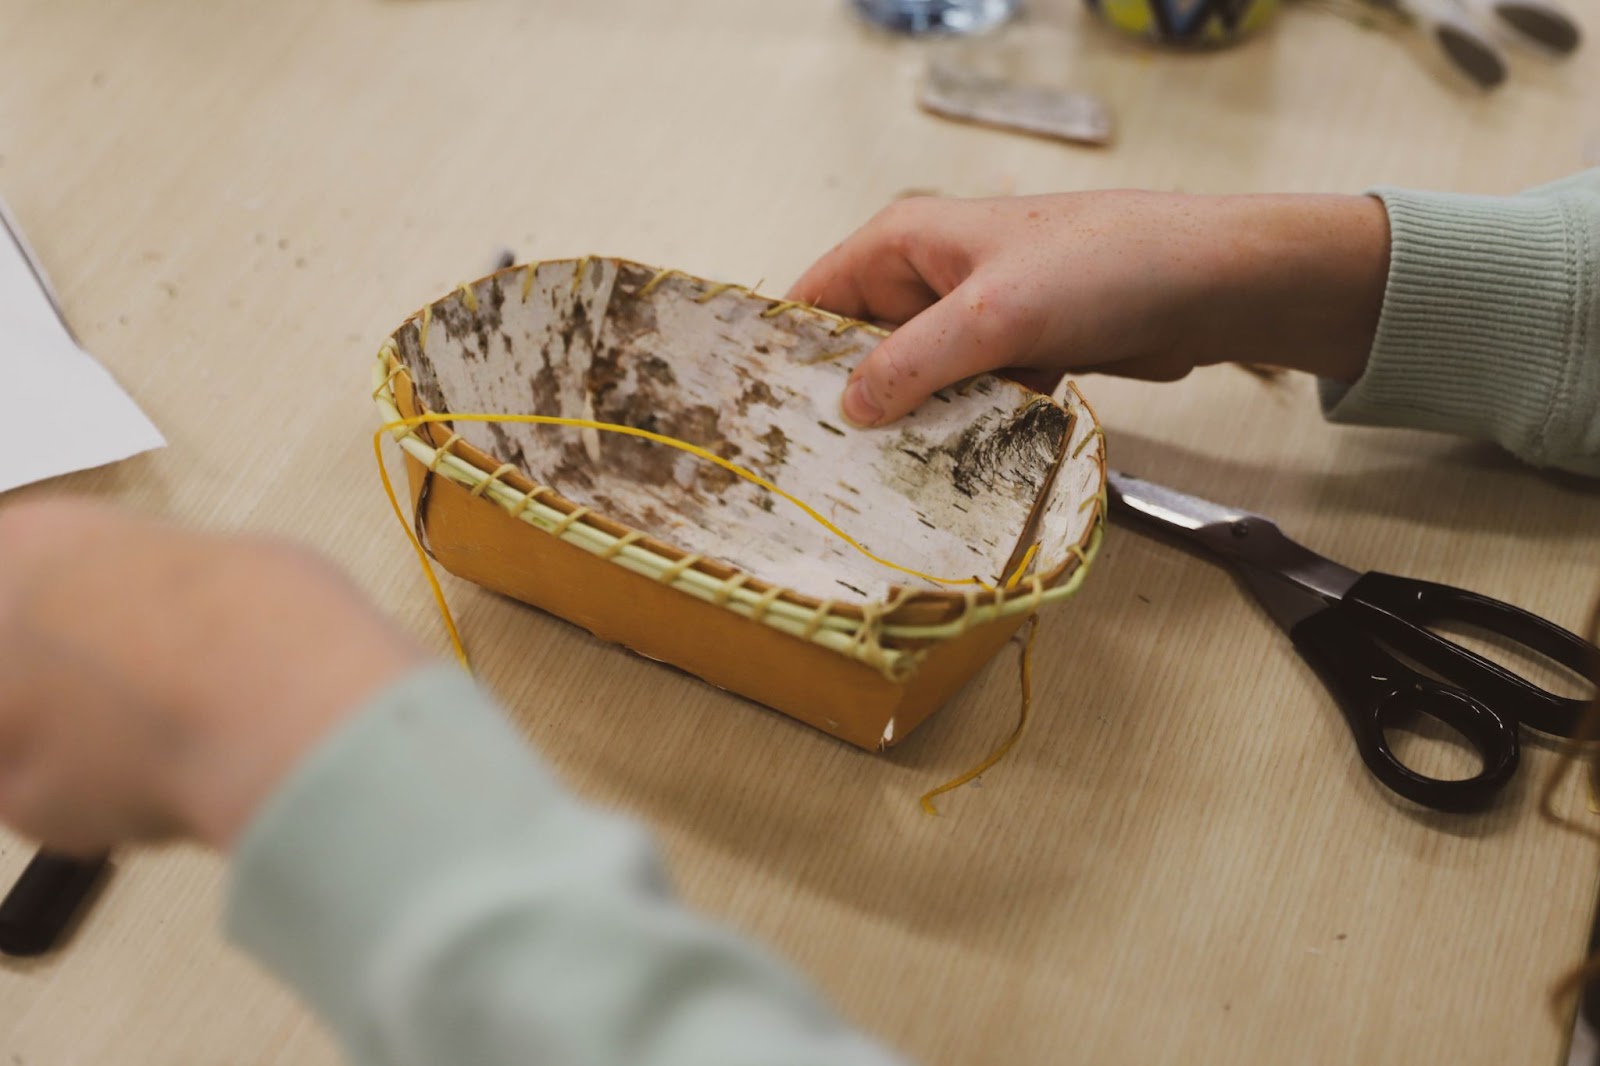
Step 9:
Thread your sinew through your needle. You can now begin to sew the willow to the birch.
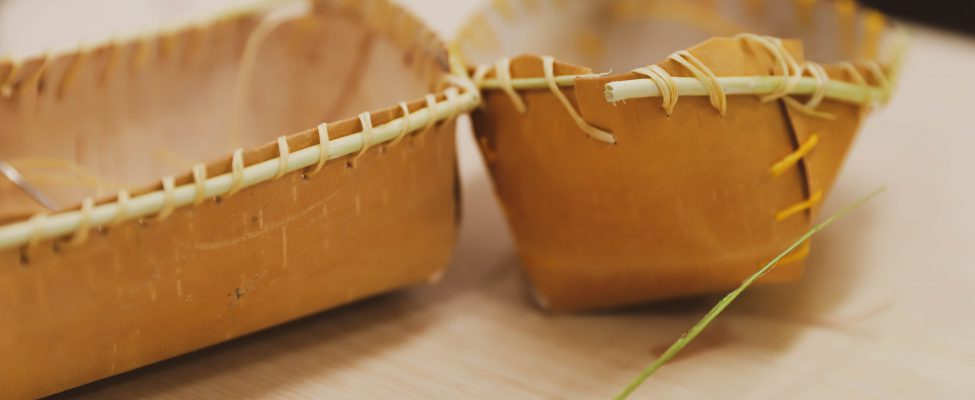
Step 10:
Sew all of the way around your birch. Once you have made it all of the way around, add a knot and cut the sinew.
Step 11:
You now will have a completed birch bark basket!
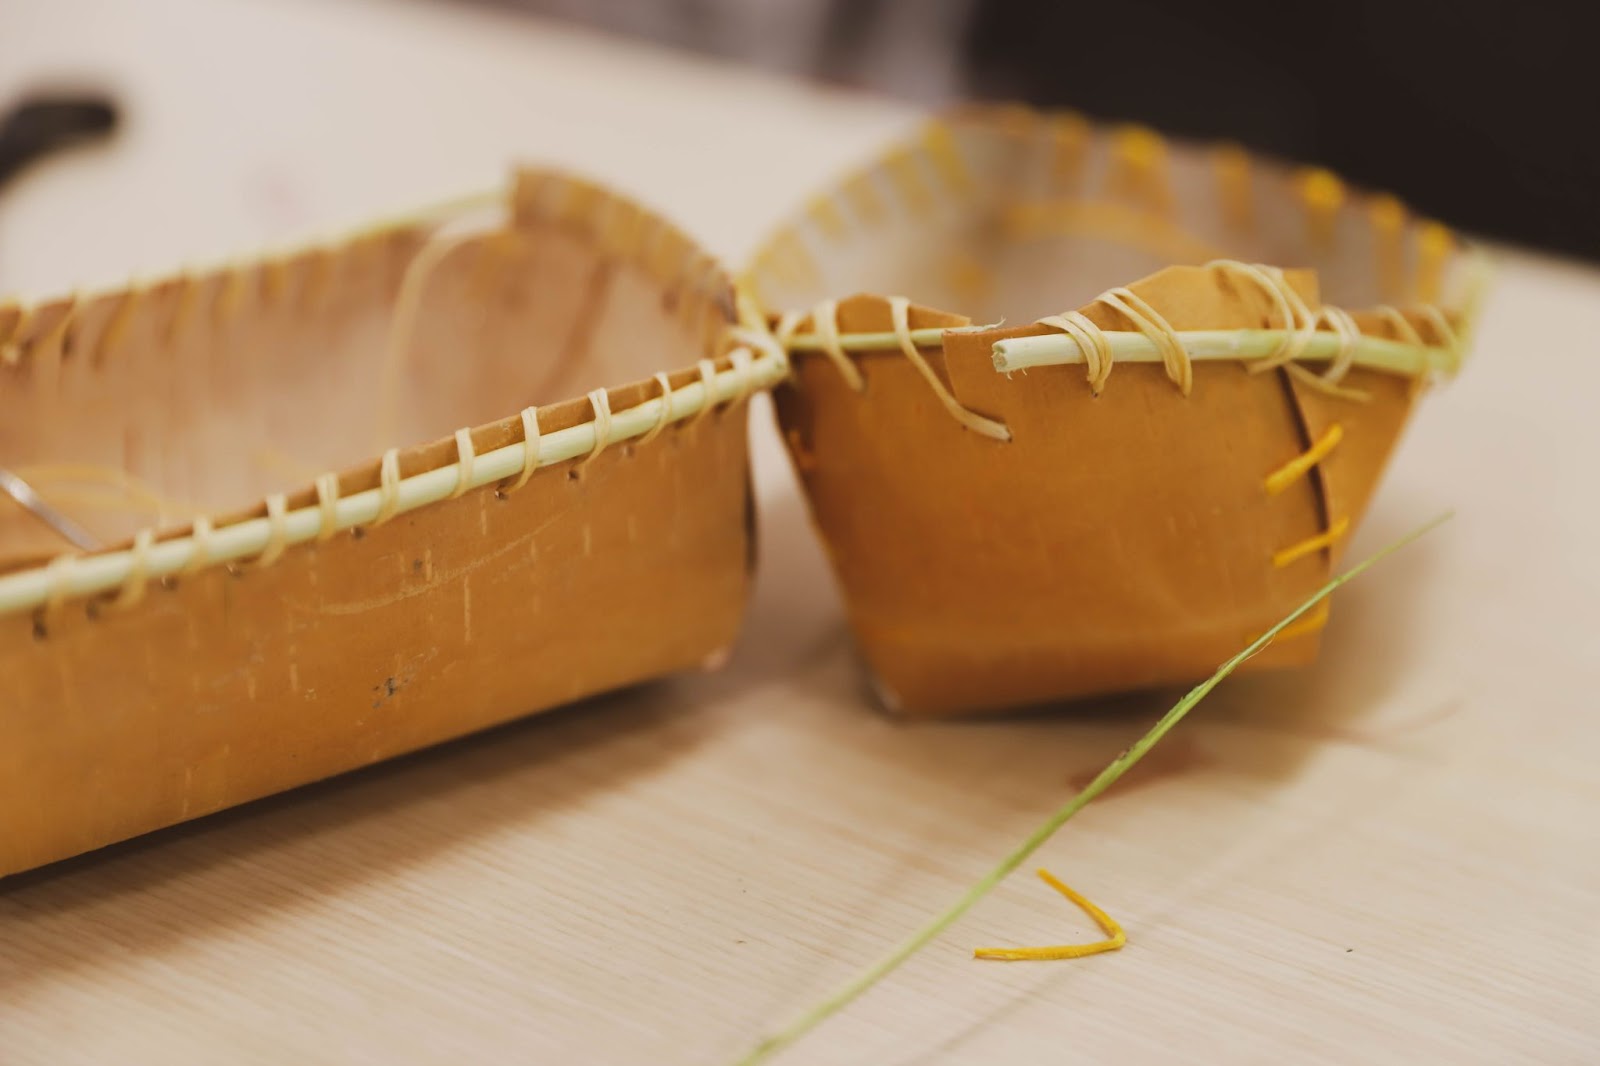
Be proud of your creation! Birch baskets have many uses, and anyone can make them. Keep an eye out for more upcoming tutorials on the blog and upcoming events that SGEI will be hosting.